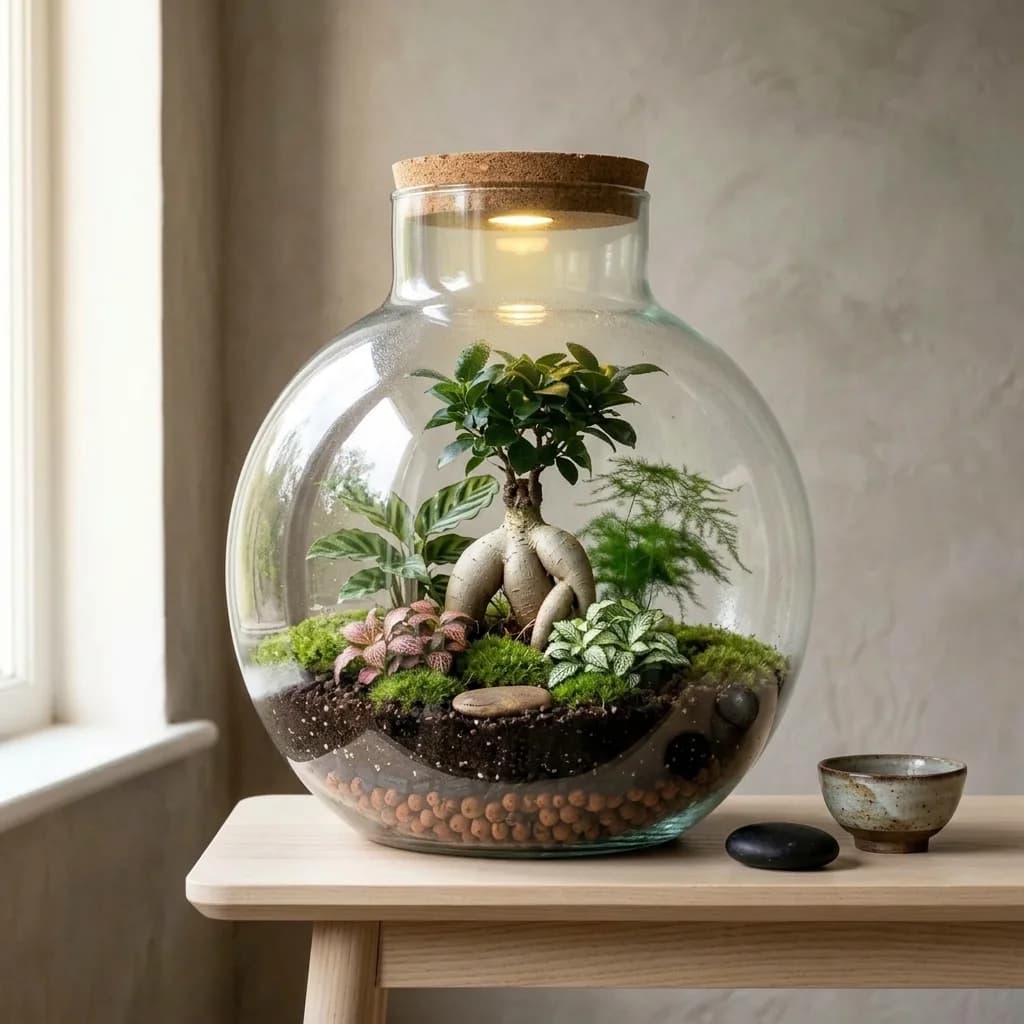


Bottle terrarium: the tutorial for a closed or lying-down bottle
Choosing the bottle, working through a narrow neck, building an upright or a lying-down bottle, then managing condensation: the step-by-step guide to a bottle terrarium.
In this guide
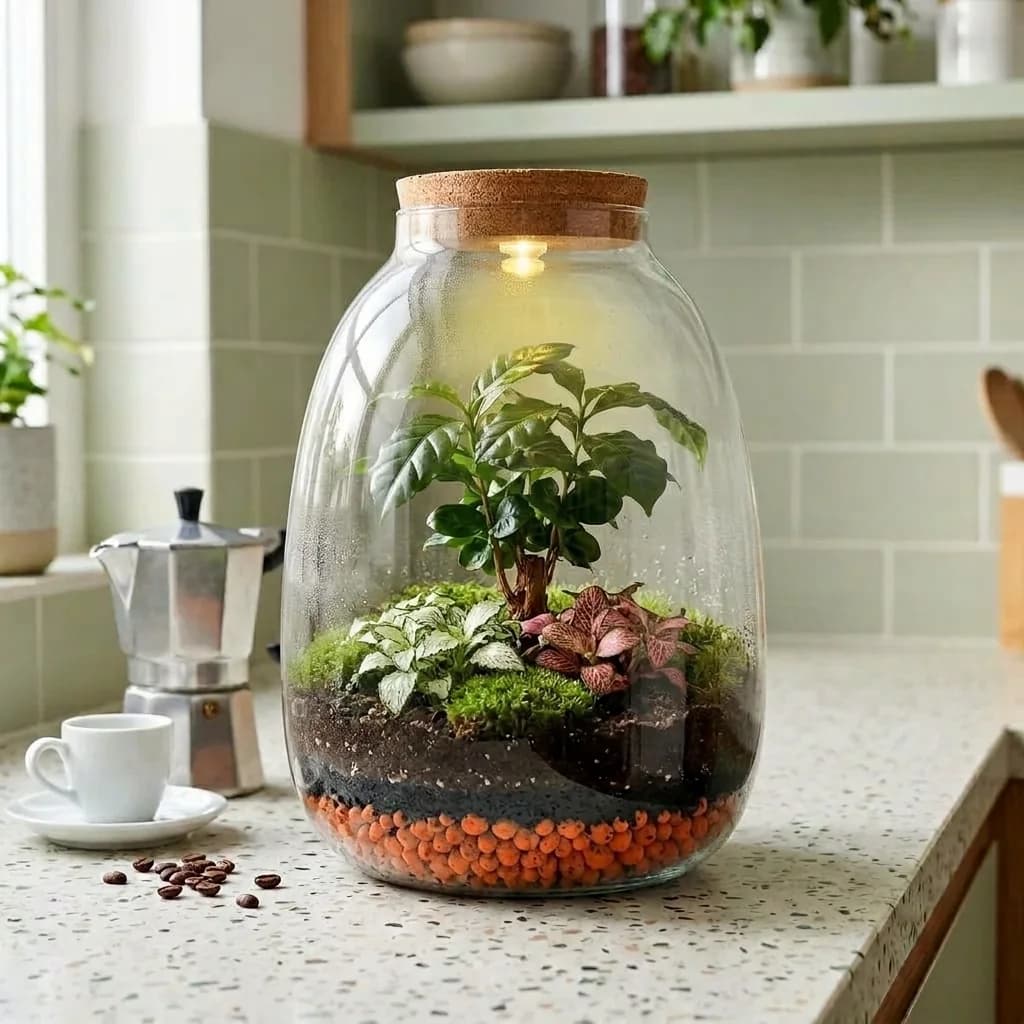
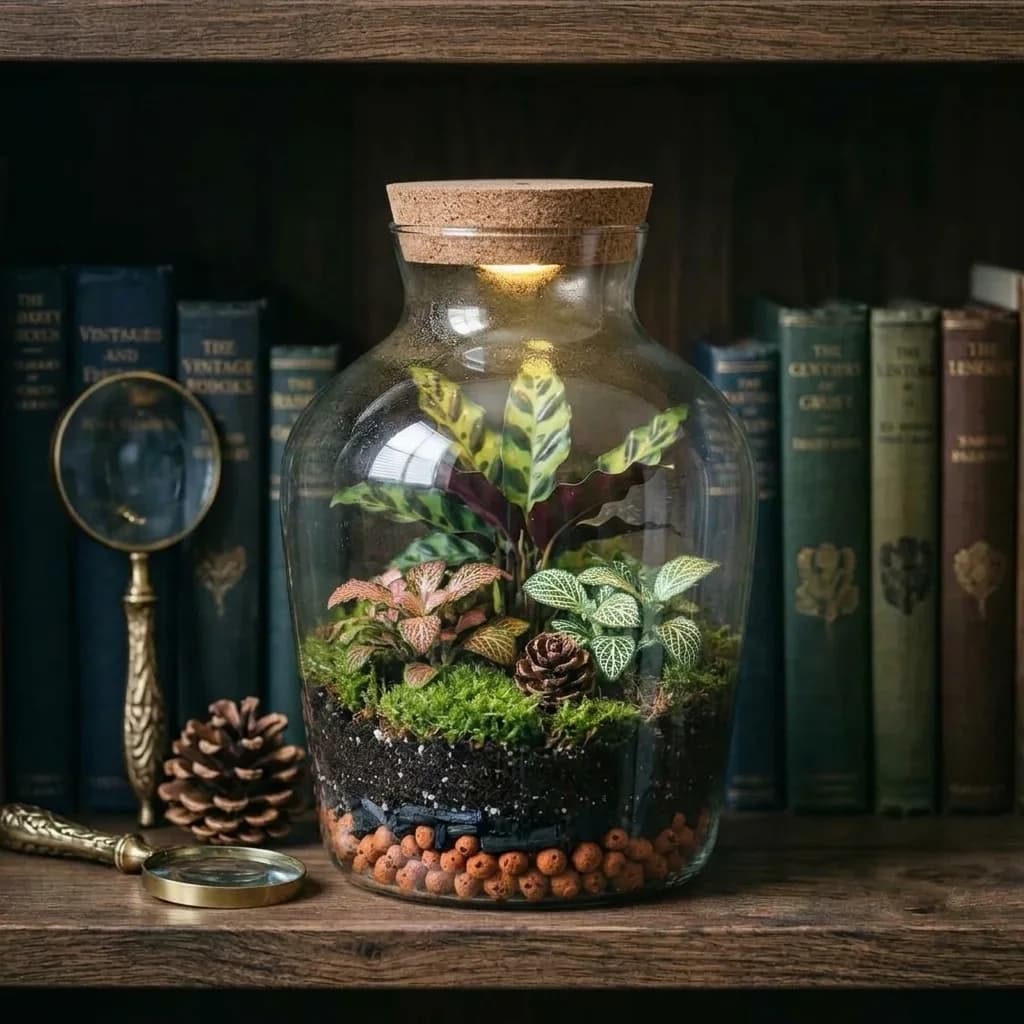
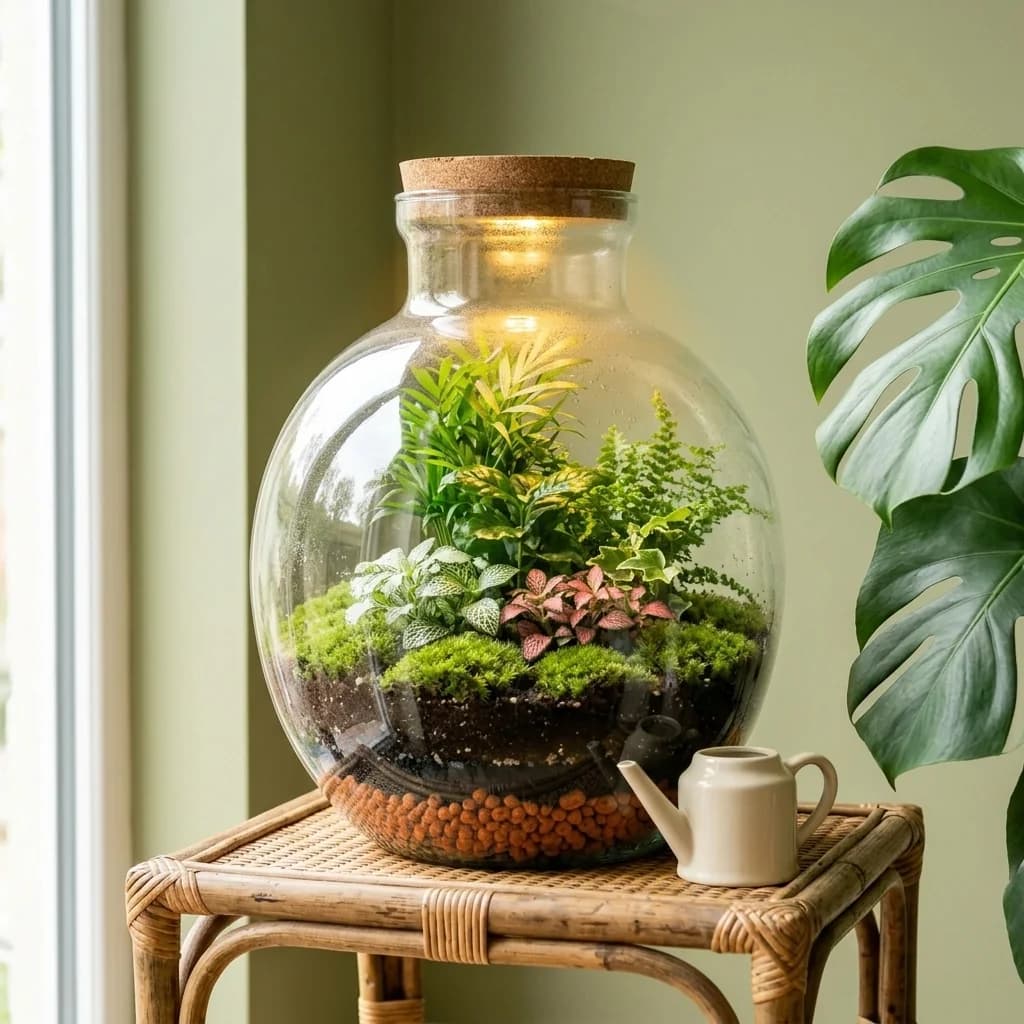
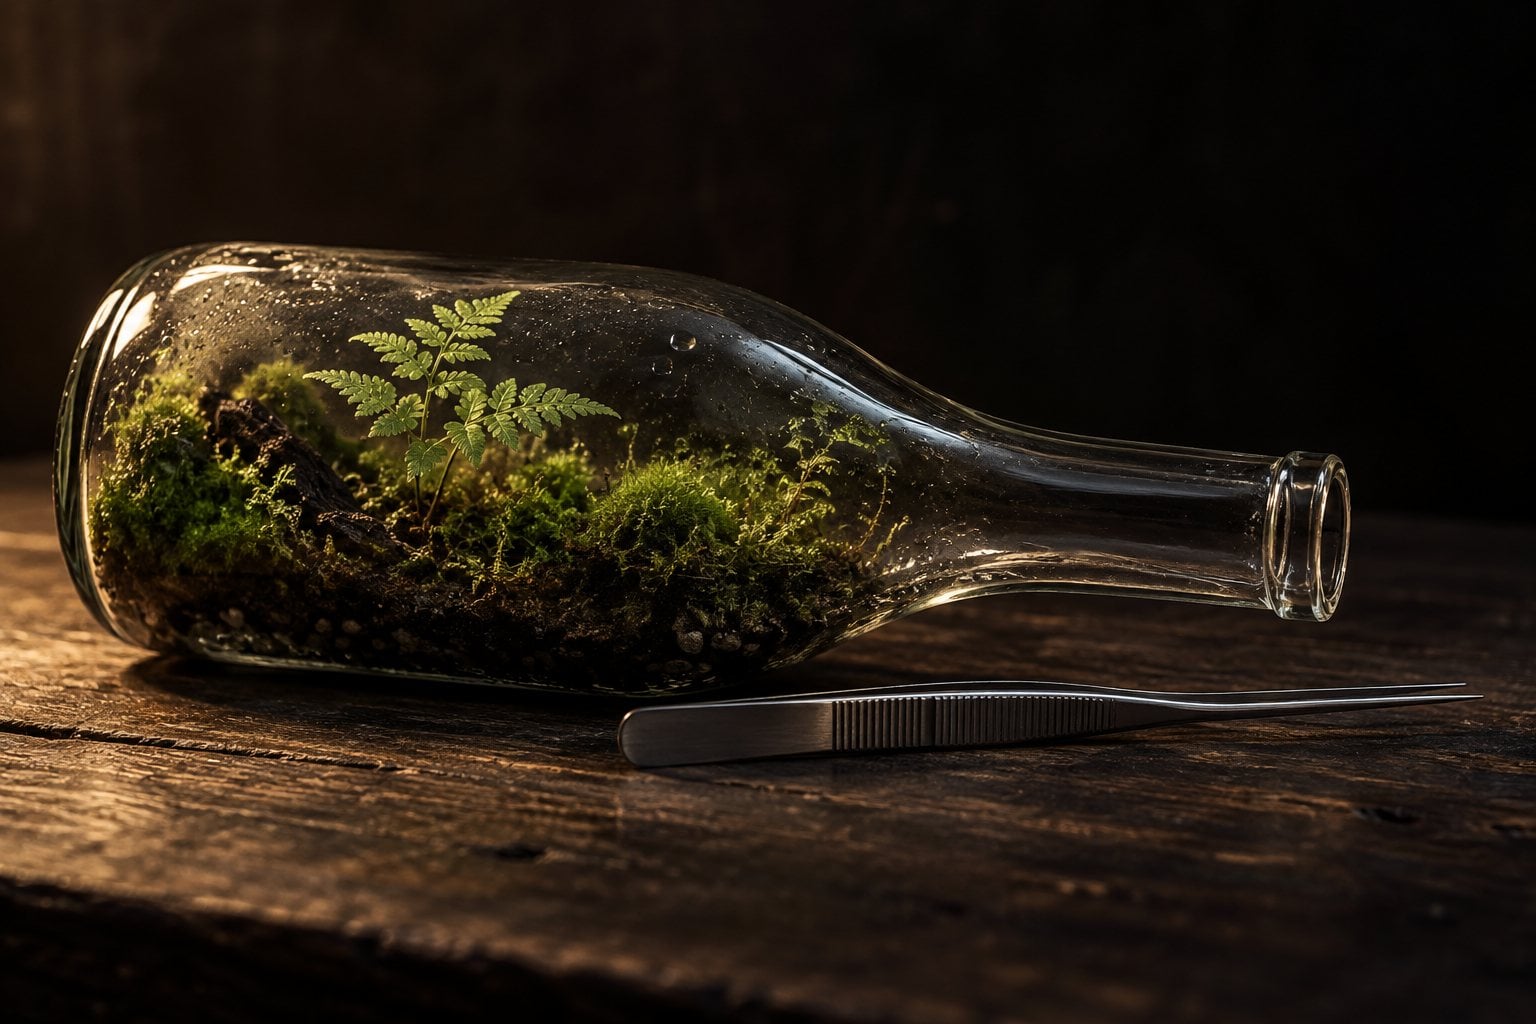
To build a closed terrarium in a bottle, you follow the same principles as in a jar: a draining layer, a substrate, small humidity-loving plants, mosses, then a stopper. Everything changes because of the neck, though: each layer has to go through a narrow opening, using a funnel and long tools. Lying down, the bottle offers a longer planting surface and a scene viewed from the side, but it has to be wedged in place before you start. Here are the two methods.
If you've never built a terrarium before, read our tutorial how to create a closed terrarium first: it explains the role of each layer. This guide focuses on what's specific to a bottle.
Which bottle should you choose for a terrarium?
Glass or plastic
Any transparent container can house a terrarium, as the University of Illinois points out: glass just as much as plastic. Clear, colourless glass remains the most pleasant, since it cleans without scratching and shows the scene off well. Avoid dark-tinted glass, which deprives plants of some of their light.
The stopper
A cork or glass stopper works well. The Royal Horticultural Society (RHS), the UK's leading horticultural society, advises against metal screw lids, which rust in the humidity. It also notes that humidity is easier to manage without a stopper: for a first attempt, you can leave the bottle open for a few days before sealing it.
The neck
This is the real deciding factor. The wider the neck, the simpler the build. Before buying your plants, check that their root ball will fit through the opening, even after removing some of the soil. Otherwise, you'll need to divide them into small clumps.
The volume
A small bottle of around a litre suits mostly mosses and one or two very small plants. A large demijohn allows a real composition, with several layers. For a first project, choose a medium volume: enough room to work in, without tools having to reach very deep. Our guide to choosing a terrarium container compares the formats.
And for a bottle lying on its side?
Choose a bottle with a long, well-cylindrical body, whose neck sits in line with the body. It needs to stay perfectly still once lying down: plan for a stand, two small wooden wedges or a cork support. A bottle that rolls, even slightly, makes the substrate slide towards the neck.
What tools do you need to work through a narrow neck?
Ordinary tools won't fit. The RHS suggests improvised tools: chopsticks, a spoon fixed to the end of a rod, long kitchen tongs. The University of Illinois also mentions wooden skewers and long-handled tweezers. In practice, gather:
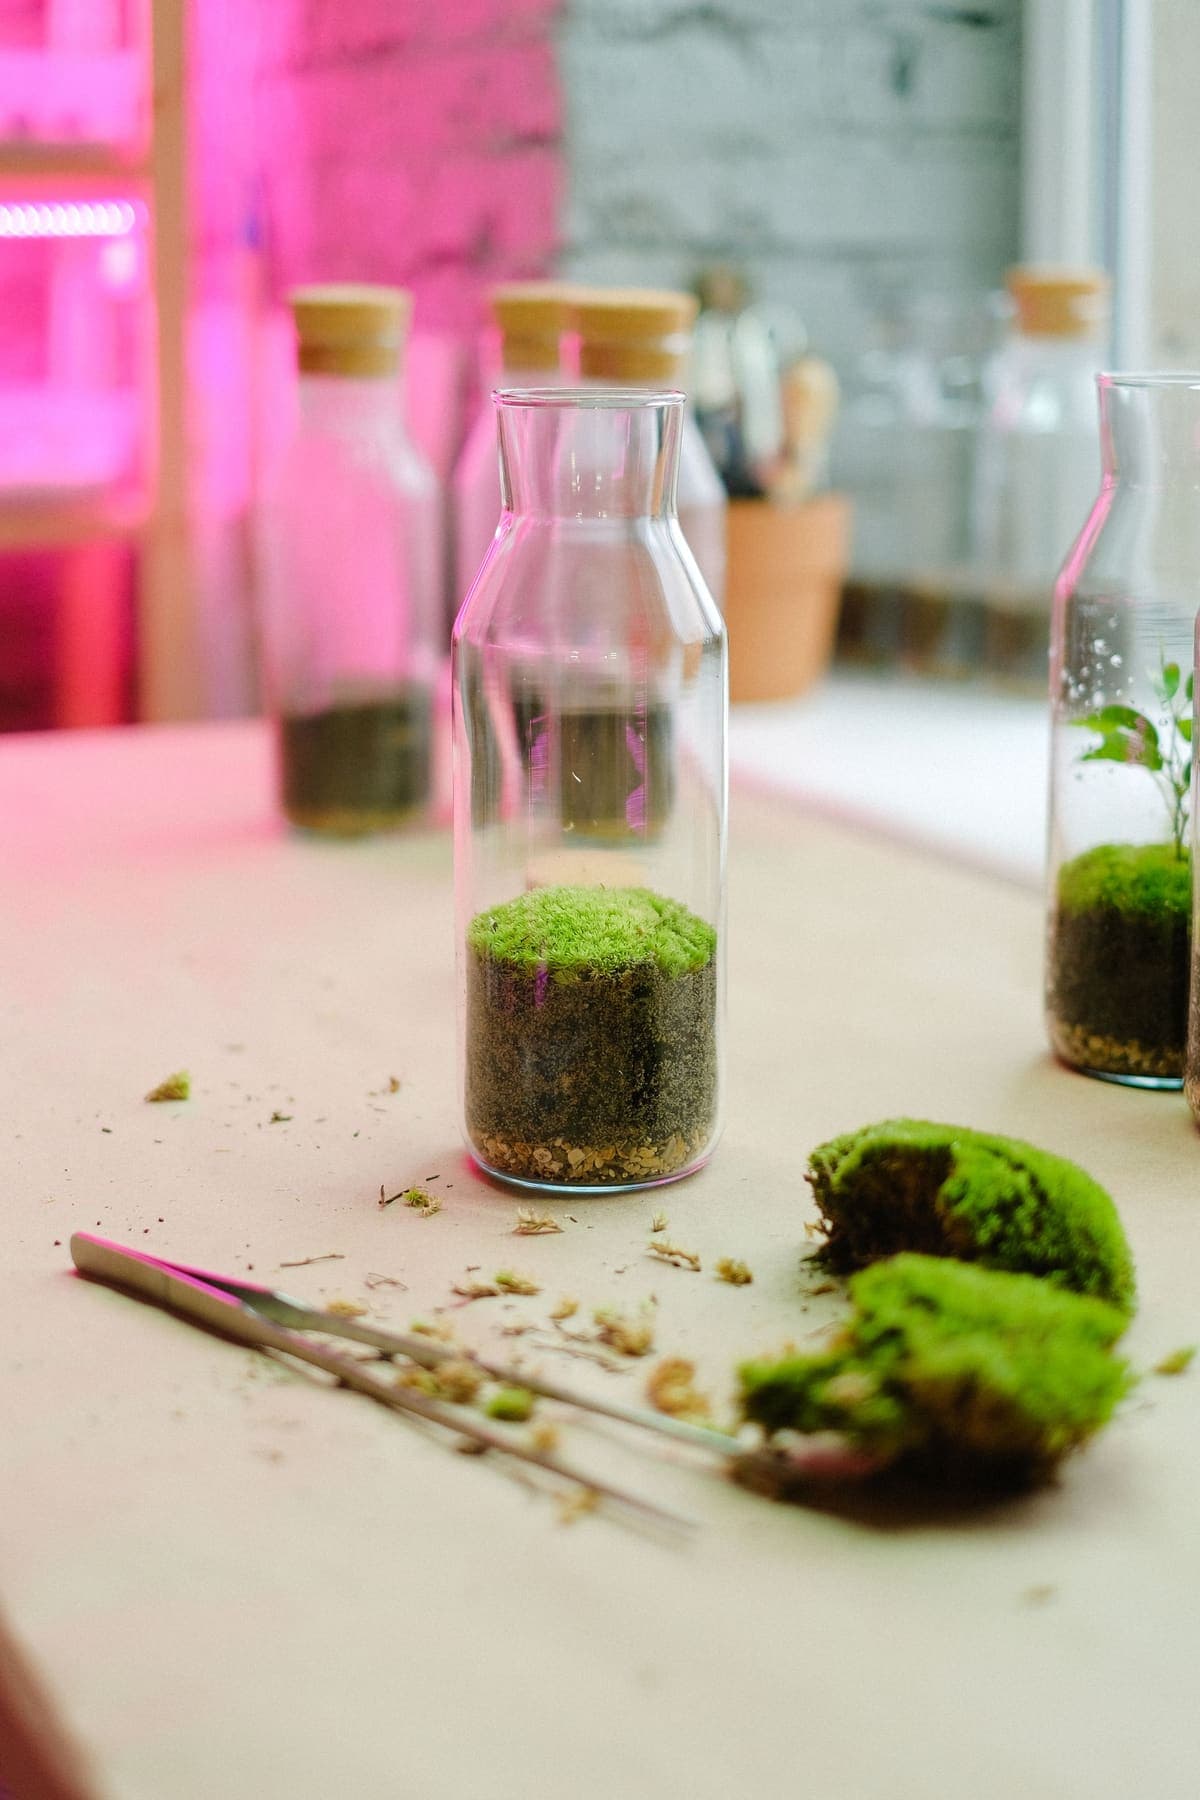
- a funnel, or a sheet of paper rolled into a cone, to pour in the drainage and substrate without dirtying the glass;
- long tongs, to lower plants in and position mosses;
- a stick or a wooden skewer, to dig planting holes and firm the substrate around the roots;
- a small spoon fixed to a rod, to shape the terrain;
- a piece of sponge or cloth fixed to the end of a rod, to clean the inside of the glass;
- a mister, to water gently.
Building an upright bottle, step by step
- Clean and dry the bottle. On dry glass, substrate slides where it's meant to go instead of sticking to the sides.
- Pour in the drainage with a funnel. Tilt the bottle slightly and pour gently: the gravel or clay pebbles slide down the side instead of dropping straight to the bottom.
- Add the separator. Through a narrow neck, the simplest option is a thin layer of moss, pushed in and spread out with the tongs.
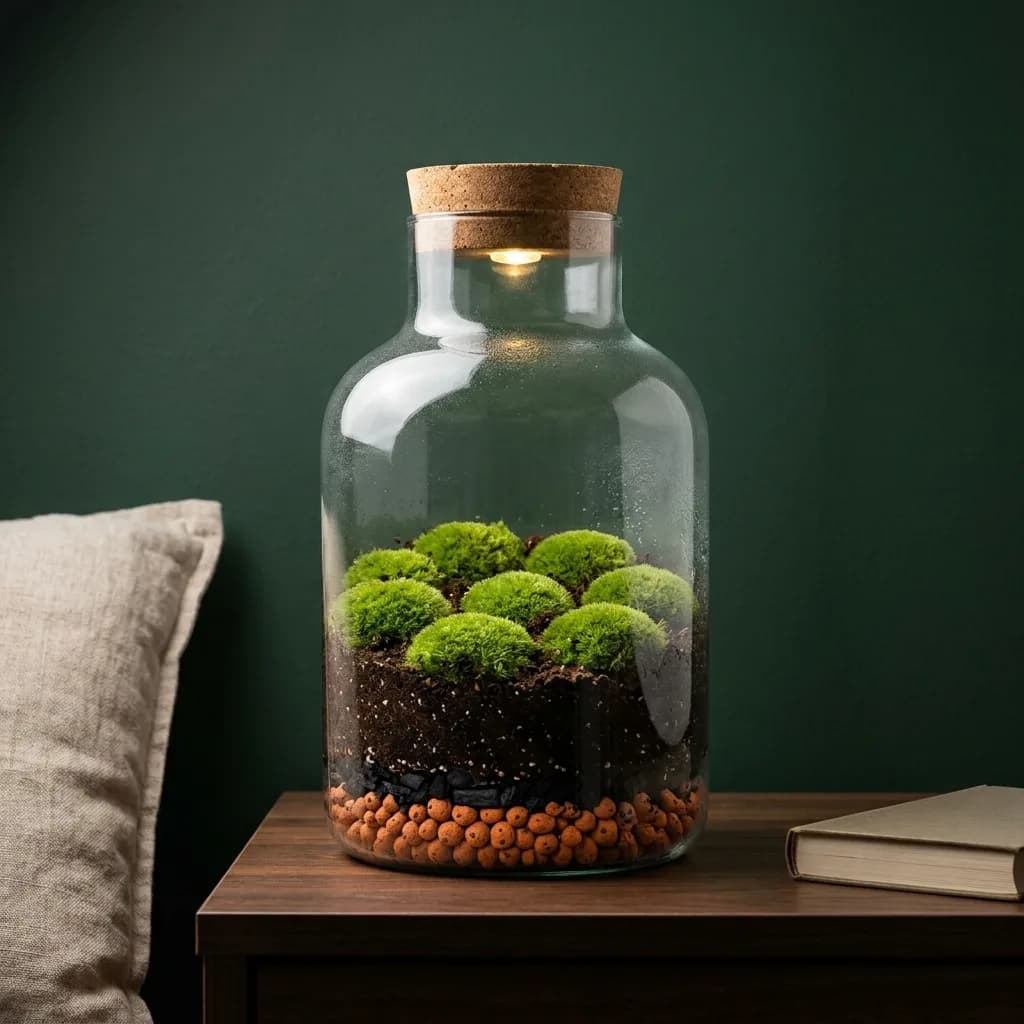
- Add the substrate. Pour it in dry or barely damp: wet, it sticks to the glass and clogs the funnel. According to the University of Illinois, drainage, charcoal and substrate together make up around a quarter of the container's volume. Then shape the terrain with the spoon.
- Prepare the plants. Remove some of the original soil and divide any root balls too wide for the neck.
- Plant. Dig a hole with the stick, lower the plant in with the tongs, holding it by the root ball, then close the hole by firming around it. Start with the plants furthest from the neck, and finish with those in the centre.
- Add the mosses. Feed them in, in small pieces, then press them onto the substrate with the stick.
- Clean, mist, wait. Wipe the glass with the sponge on a rod, mist lightly, and let the foliage dry before sealing, as recommended by Penn State University.
Building a lying-down bottle, step by step
- Wedge the bottle in its final spot. A filled, lying-down bottle is hard to move: the substrate shifts with every movement.
- Spread the drainage along the lower side. Pour it in through the neck, then push it with the spoon right to the far end, in a thin, even layer along the whole length.
- Add the separator, in small pieces of moss placed with the tongs.
- Shape a slope of substrate. It should be thicker at the far end of the bottle and thinner towards the neck. Stop well below the level of the neck. A small stone or piece of wood placed just before the opening holds the soil in and forms the foreground of the scene.
- Plant from the far end towards the neck. Height is limited by the bottle's diameter: choose low plants, and place the tallest ones furthest away.
- Cover with moss and decorate. The scene reads from the side, like a landscape: think of a path, a small clearing or a woodland edge.
- Mist very lightly. The substrate layer is thin: excess water quickly reaches the bottom and stays there.
- Let the foliage dry, then seal it.
Which plants and mosses suit a small volume?
In a bottle, you can't easily swap out a plant that's grown too big. So choose small, slow-growing plants that love humidity. The RHS mentions fittonias, peperomias, pileas and small-leaved ferns in particular for closed terrariums.
- Cultivated mosses are the backbone of a successful bottle: they stay low and hold in humidity. Our guide to terrarium mosses presents the species.
- Small fittonias add colour.
- Spikemoss stays low, but spreads fast: plan to trim it with long scissors.
- Very small ferns work well as long as they stay young.
Avoid succulents and cacti, which rot in a closed environment, flowering plants, and any plant whose leaves are wider than the neck: you won't be able to take it out again. Choose cultivated mosses over mosses gathered in the wild: collecting them damages the habitat, can bring in pests, and is regulated in many protected areas.
Care and condensation in a bottle
A closed bottle follows the same rules as a closed jar.
- A light misting of condensation shows the water level is right.
- Drops that run down constantly signal too much water. Remove the stopper for a day or two. Through a narrow neck, water evaporates slowly: sometimes you'll need to leave it open longer. You can also slide in a rolled sheet of absorbent paper on the end of a stick to soak up the excess.
- Dry glass and limp plants point to a lack of water. The University of Illinois notes that a well-sealed container often only needs water every four to six months. In that case, pour a few drops down the side of the glass: they'll rinse it as they go down.
Place the bottle in a bright room, in bright, indirect light. The RHS recommends at least six hours of this light per day, for example near a north- or east-facing window, and never in direct summer sun. Turn the bottle occasionally so the plants grow straight, and remove dead leaves quickly to prevent rot. Our guide closed terrarium without maintenance covers these steps in more detail.
Common mistakes
- Choosing plants too big for the neck: you have to damage them to get them in.
- Pouring in wet substrate: it sticks to the glass and clogs the funnel.
- Overwatering during the build: removing excess water through a narrow neck is slow and difficult.
- Using a metal screw stopper: it rusts.
- Forgetting to wedge a lying-down bottle: the landscape slides towards the neck.
- Placing the bottle in the sun: the glass concentrates the heat.
- Planting everything too close together: plants soon touch the glass, and trimming becomes tricky.
The kit
A set of long tools makes working through the neck much easier. For a first small-format attempt, a kit brings together the essentials.
Find ready-to-assemble kits in our DIY kits section.
Sources
Frequently asked questions
Can you make a terrarium in a plastic bottle?
Yes, clear plastic works too. Rinse the bottle well before you start. Glass remains more pleasant over time, since it cleans without scratching.
How do you get plants through a narrow neck?
Remove some of the soil and divide the root ball if needed. Dig the hole first with a stick, lower the plant in with long tongs, then firm around it with the same stick.
Should you seal a bottle terrarium?
For a closed terrarium, yes, with a cork or glass stopper rather than a metal one that rusts. You can leave the bottle open for a few days after building it, to check the humidity is right.
How do you remove excess condensation from a bottle terrarium?
Remove the stopper for a day or two, sometimes longer: through a narrow neck, water evaporates slowly. You can also soak it up with absorbent paper rolled onto the end of a stick. A light misting, on the other hand, is normal.