


Harvesting and keeping microgreens without losing them
Cut at the right stage, with clean scissors, on a dry tray, then store in a closed box in the fridge: the steps that take a harvest from two days to a good week.
In this guide
Harvesting microgreens comes down to two actions: cutting with clean scissors, just above the medium, once the cotyledons are well open and the first true leaves are showing, then storing the shoots dry in a closed box in the fridge. Treated that way they keep for about 5 to 7 days. Washed before storing, or cut on a soaking tray, they often go limp within two days.
The right moment to cut
The visual cue is simple: the two cotyledons, those first rounded leaves that come out of the seed, are well spread, and the beginnings of the first true leaves are showing between them. That is the stage with the most flavour for the least fibre.
Nothing obliges you to wait for that exact stage. Harvesting is possible a little earlier, as soon as the cotyledons are open and green. It is still possible a little later, at the cost of firmer stems and a stronger, sometimes more bitter flavour. The most instructive thing, on a first crop, is to taste at several stages from the same tray.
The timings below are the variety-by-variety benchmarks from a Utah State University guide, the ones we use in our guide to sunflower and radish microgreens.
| Variety | Harvest after sowing | Sign of readiness |
|---|---|---|
| Rocket | 6 to 8 days | Cotyledons well open, clear peppery smell |
| Pea | 8 to 10 days | Firm upright stems, first true leaf showing |
| Sunflower | 9 to 10 days | Seed coats shed, cotyledons green and thick |
| Radish | 8 to 12 days | Coloured stems, cotyledons well spread |
| Broccoli | 8 to 12 days | Cotyledons a clear green, even growth |
Other sources give wider ranges, from six to fifteen days depending on the species: room temperature and the light received shift the result by several days. A tray grown in a cool room simply takes longer.
Harvest in the morning if you can, before the room warms up, and leave the tray unwatered for the few hours before cutting. Shoots that are dry on the surface keep markedly better.
Cutting: the technique
- Wash your hands, then wash the scissors in hot soapy water and dry them. Microgreens are eaten raw: hygiene at the cut matters as much as hygiene during growing.
- Check that the foliage is dry. If drops are left from a misting, wait, or blot gently with a clean cloth.
- Take a small handful of stems between thumb and forefinger, without squeezing, to stand them upright.
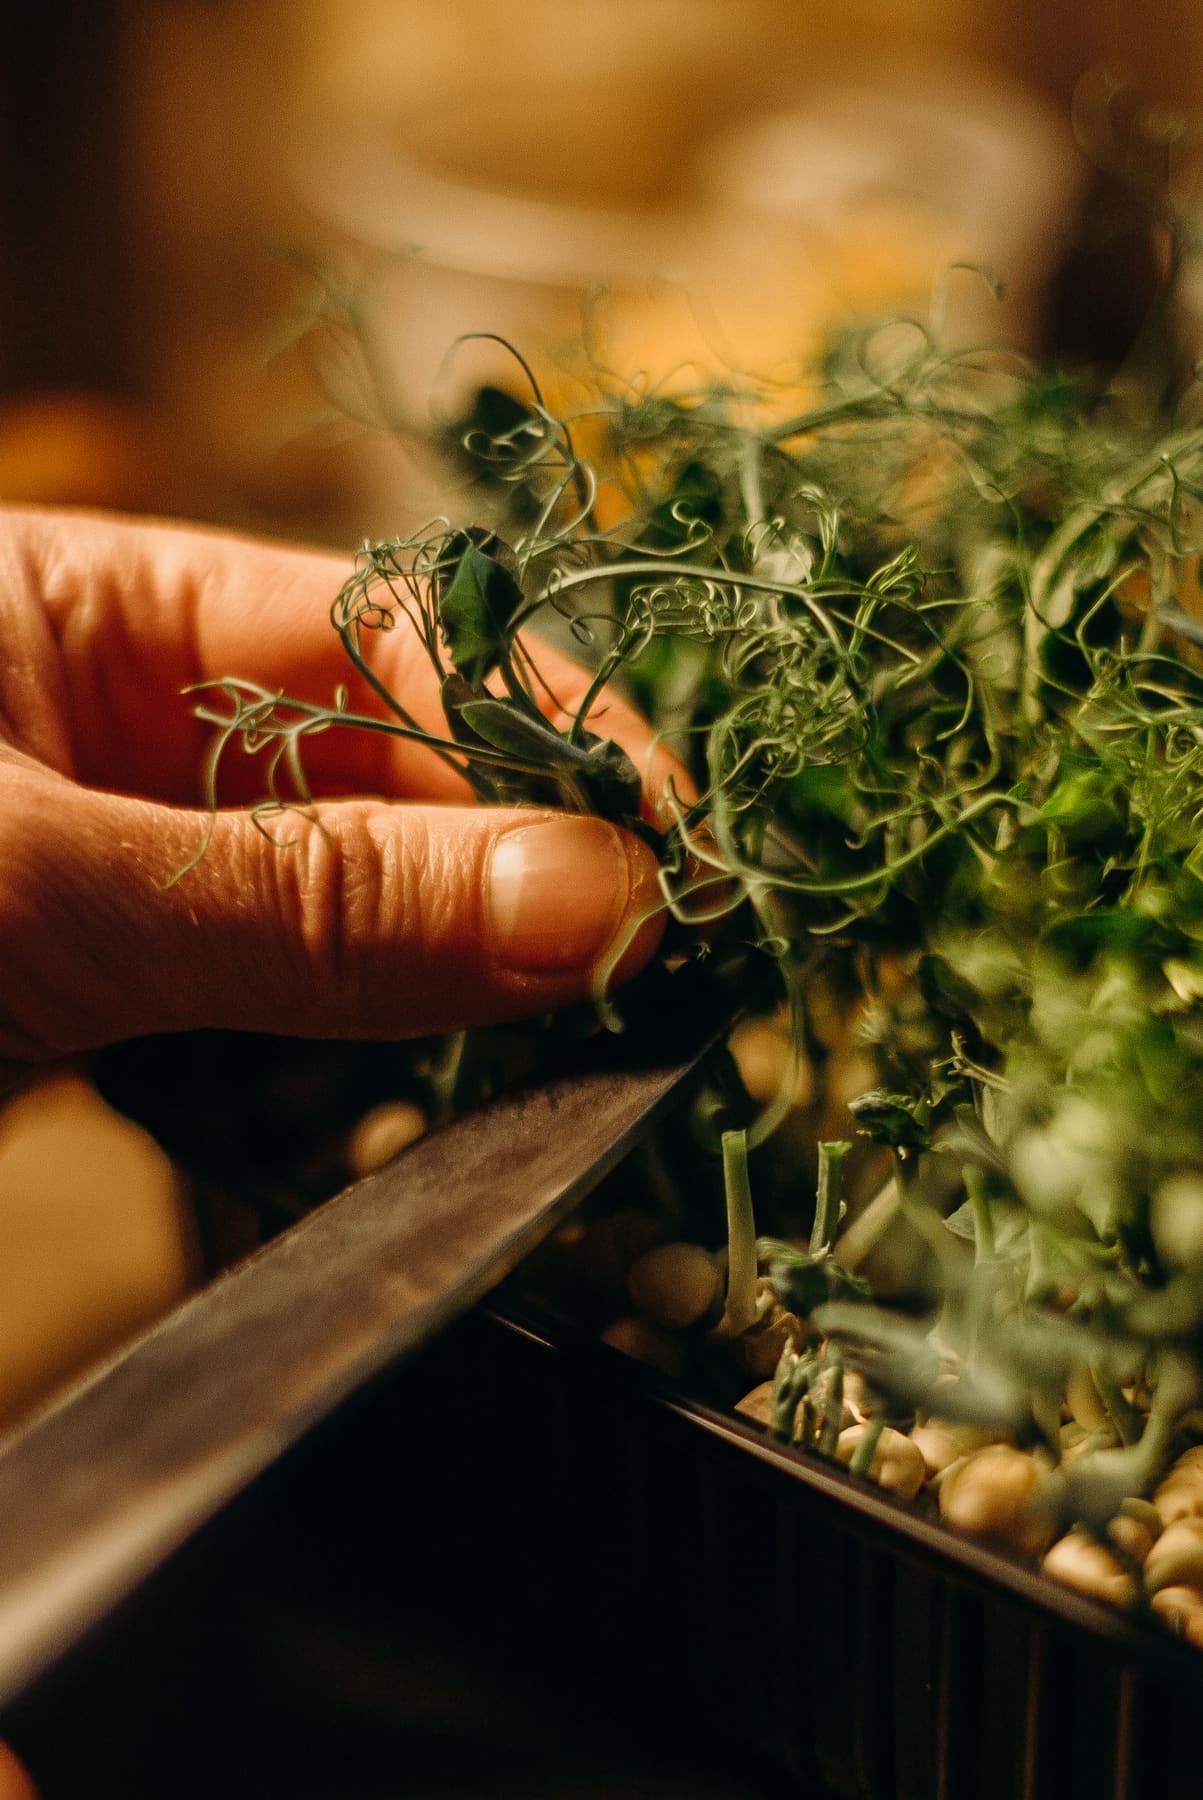
- Cut cleanly, about one centimetre above the medium, leaving the roots and the mat in place. Cutting too low brings bits of medium and ungerminated seed into the harvest.
- Drop the shoots into a dry bowl, never into the sink or onto a wet worktop.
- Sort them quickly: take off any seed coats still clinging on, above all with sunflower, along with any soft or yellowed stems.
Harvest only what you need if you are eating the shoots over the following days. A tray left in place, cool and in the light, often keeps better than a box in the fridge: you then cut as you go.
Should they be washed?
Rinse at the moment of serving, not at the moment of storing. That is the rule that changes the most. Water left between the leaves speeds up decay: shoots put away damp go limp, stick together and brown within a day or two.
If you insist on washing the whole harvest, dry it properly before storing: a short spin in a salad spinner, at moderate speed so the stems are not crushed, then a few minutes spread out on a clean cloth. The shoots must be dry to the touch.
Microgreens grown on a hemp mat or on coir, watered from the reservoir below, come out clean and generally need no rinsing beforehand. That is one of the advantages of these media over a thin layer of compost.
The food-safety precautions that come with eating them raw, and the difference between microgreens and sprouted seeds, are covered in our variety-by-variety guide, along with the official recommendations.
Storing in the fridge
Microgreens keep for about 5 to 7 days in the fridge, in good conditions. Here is what makes the difference.
- A closed box, rather than an open bag or a bowl under cling film. It protects the shoots from the dry air of the fridge and from odours.
- A sheet of kitchen paper at the bottom, changed if it becomes damp. It catches the condensation that would otherwise drip back onto the leaves.
- No packing down. Compressed shoots are crushed and release water. Fill the box three-quarters full.
- In the crisper drawer, not in the door: the temperature there is steadier and lower.
- Away from ripe fruit, apples and bananas in particular, whose emissions speed up the yellowing of the leaves.
Freezing does not work. The tissues burst on thawing and the shoots turn to mush. For the same reason, microgreens are added at the end of cooking or just before serving, never at the start of a recipe.
What loses them in two days
- Storing them wet. By far the leading cause.
- Cutting too low. Bits of medium and ungerminated seed end up in the harvest and ferment.
- Harvesting a tray that has just been watered. Wait a few hours.
- Leaving damaged stems in the box. One soft shoot spoils others by contact.
- Harvesting late. Shoots that have gone past the first true leaf stage keep less well than shoots cut on time.
- Opening the box several times a day. Take out the amount you want in one go, then close it again.
A harvest that smells musty, turns slimy or takes on a greyish bloom goes straight to the compost. There is no saving it.
After the harvest: clean up and start again
Most microgreens do not regrow, because the cut passes below the first leaves. So you sow again, and that is the moment to start from a clean tray.
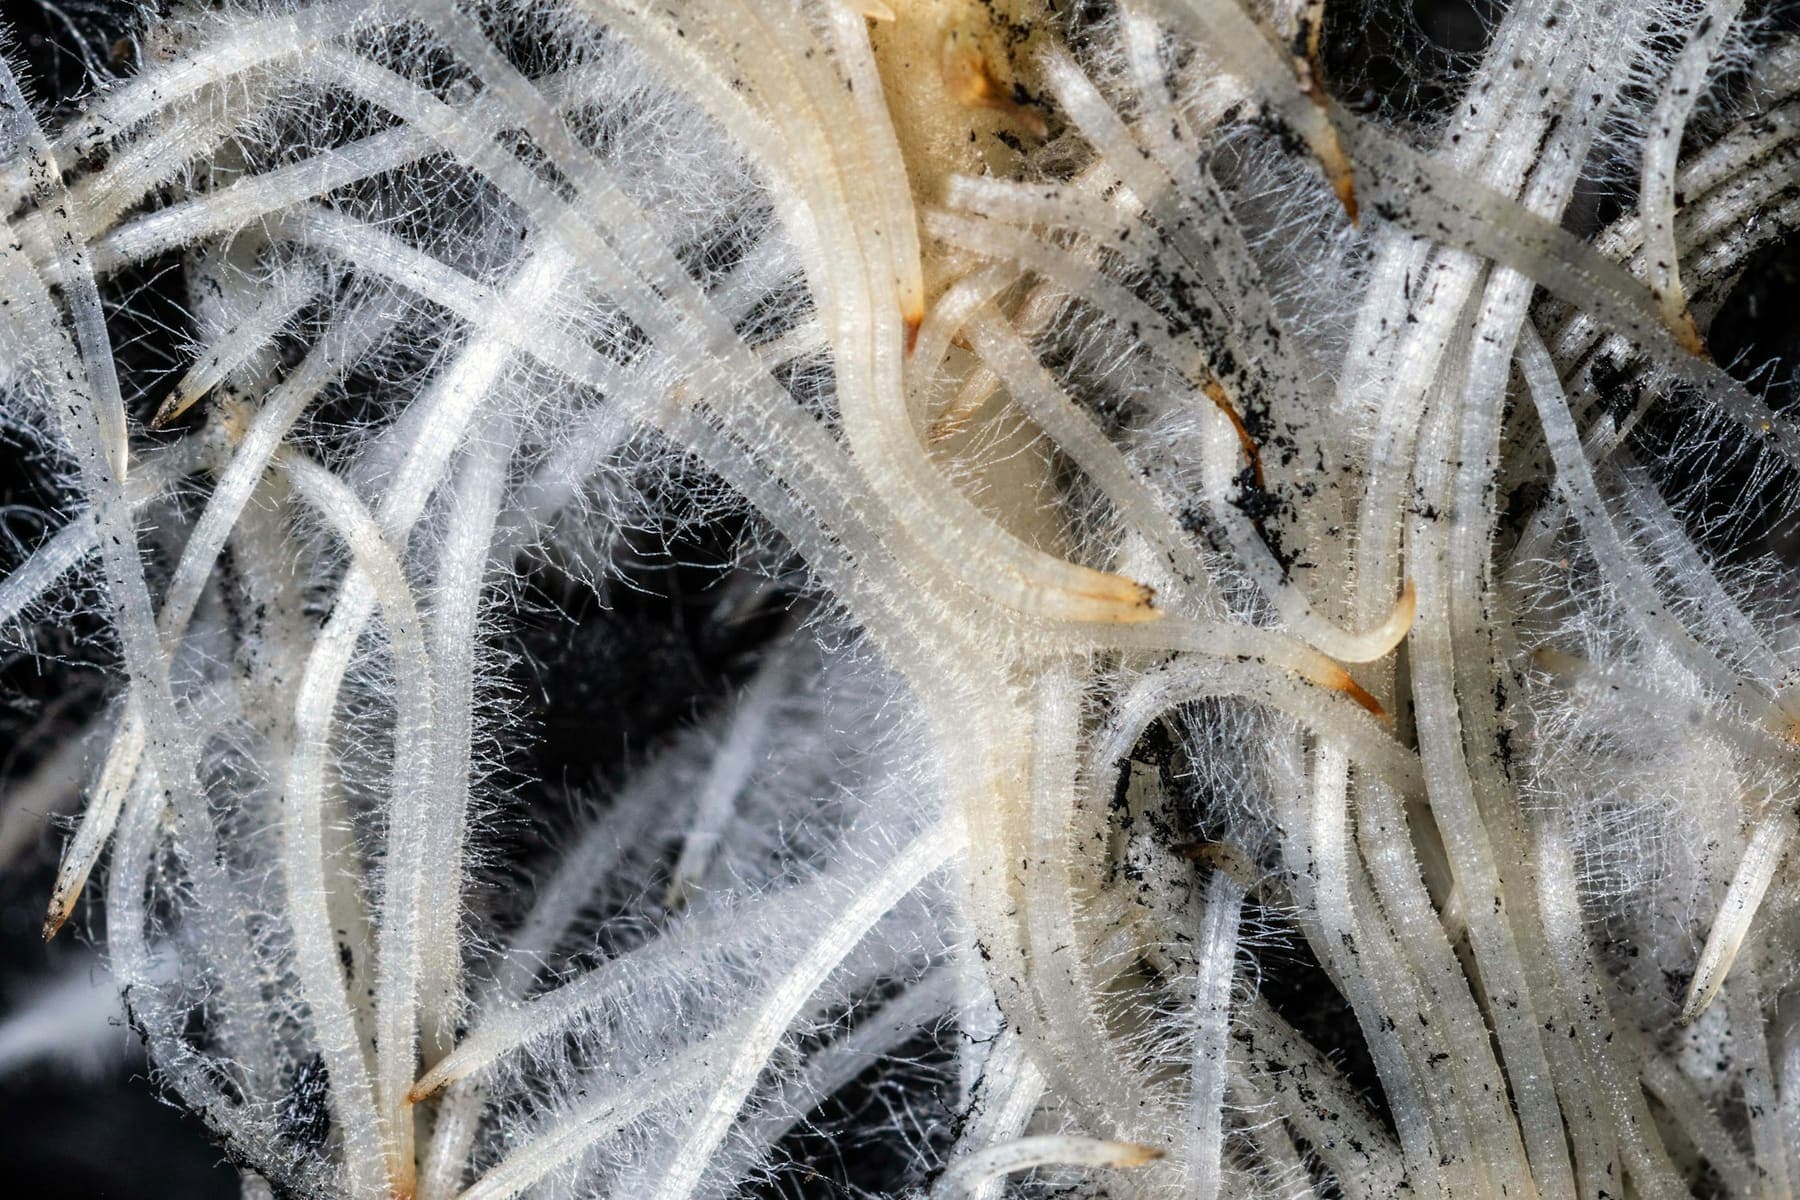
- Lift out the mat of roots in one piece, with the growing mat if it can be composted, and put the lot on the compost heap.
- Wash the tray in hot soapy water with a soft brush, then rinse. A wipe with diluted white vinegar removes limescale marks.
- Dry it completely before sowing again: a tray put away damp grows mould.
- Start a small tray every four or five days for a continuous harvest, rather than a big tray every fortnight.
For the quantity of seed to sow, follow the rate given on the packet, then adjust from one crop to the next: sowing too thickly traps moisture between the seeds and encourages mould, sowing too thinly gives a meagre harvest.
If your shoots stretch and pale before the harvest, light is what is lacking: see how many hours of light a day and, for the full method from sowing to cutting, getting microgreens right first time. Seed, mats and trays are gathered in the microgreens section.
Sources
- Grow Your Own Microgreens — Utah State University Extension
- A Step-By-Step Guide for Growing Microgreens at Home — Penn State Extension
- Growing Microgreens and Baby Greens Indoors — University of Maryland Extension
- Growing Microgreens — Clemson Home & Garden Information Center
- Microgreens and Produce Safety — University of Nevada, Reno
Frequently asked questions
How long do microgreens keep in the fridge?
About 5 to 7 days, provided they go in dry. Put them in a closed box without packing them down, on a sheet of kitchen paper that you change if it becomes damp, and keep the box in the crisper drawer rather than the door. Shoots stored wet often go limp within a day or two.
Is it better to harvest everything at once or cut as you go?
A tray left in place, cool and in the light, often holds up better than a box in the fridge. So cut the amount you need and let the rest grow on, as long as the shoots have not gone past the first true leaf stage. Beyond that, it is better to harvest the lot at once and store it cold.
How high should microgreens be cut?
About one centimetre above the medium, with clean scissors, leaving the roots and the mat in place. Cutting too low brings bits of medium and ungerminated seed into the harvest, which shortens storage life and gives an unpleasant texture.
Can microgreens be frozen?
It is not suitable. The tissues burst on thawing and the shoots turn to mush, with no crunch left at all. For the same reason they are added at the end of cooking or just before serving. If you grow more than you eat, it is better to sow smaller trays, more often.